With the surge of digital camera technology in the marketplace today, there has been such a wonderful resurgence and focus with black and white photography. The possibilities are endless to produce amazing monochrome imagery either on the camera or post-processing with software applications like Photoshop, Adobe Bridge, Lightroom or related software. Check out these black and white photo tips for beginners and hopefully you can come up with some amazing results from trying some of these tips.
Try these photo tips on black and white photography
Taking a photo in black and white takes more effort than just converting an image into grey scale monochrome, that would just be the starting point in series of post processing steps in creating a final image that’s dynamic and well balanced. I’ve outlined some key techniques and tips below to help you fine tune your black and white photography. Also, I’ve given some basic overview of post-processing with various applications, which is an extensive topic to cover on it’s own. Hopefully you can use any combination of these photo techniques to improve your black and white photography and also learn to master a software application that enables you to create some gorgeous imagery worth sharing.
Use low ISO – Set your ISO to the lowest setting possible, this is important to avoid noise which becomes more obvious for black and white photography especially in low light situations where grain becomes more obvious.
Black and white mode – Most DSLR cameras have a monochrome or creative black and white setting. Try setting your camera in this mode so it will give you a nice preview of what you are viewing. Also make sure you do shoot in raw to capture the best image quality.
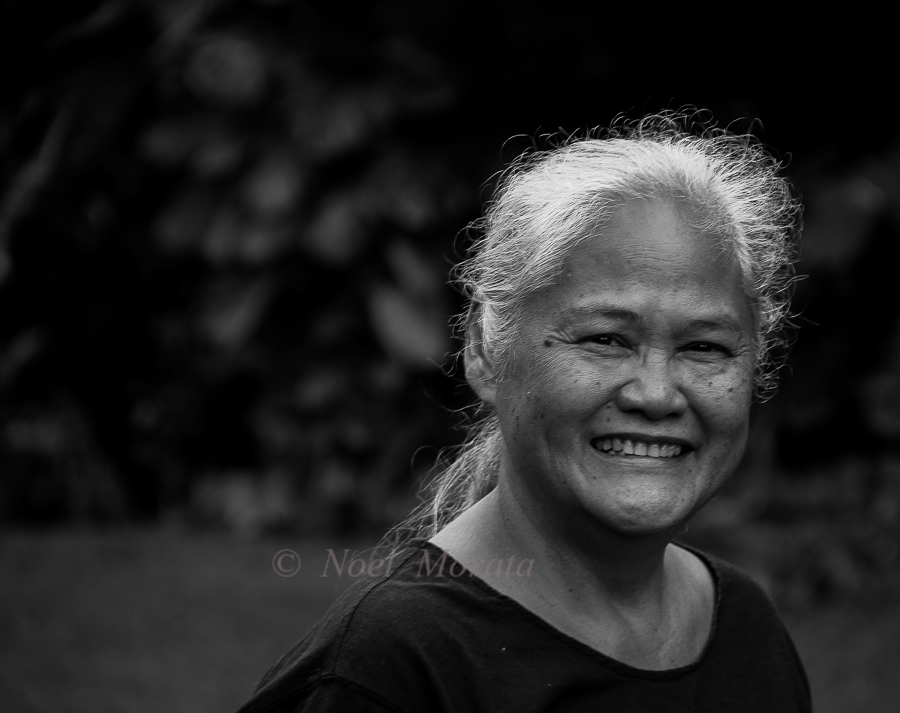
Portrait or detailed studies – keep your backgrounds very simple and clean so your subject will be well presented with crisp focus and nice detail features that highlights your subject.
Exposure Bracketing – To ensure that you do get one perfect exposure, make sure to take a series of bracketed shots either one or a few stops in either direction. Depending on several variables, you may be able to find just the perfect exposure or even merge files in HDR mode or when you post process your images.
Shoot in Raw mode – you will be able to maximize and manipulate the full range of detail, size and exposure when you shoot in raw mode. In variable conditions when you shoot in raw mode, you have the ability to bring out more detail, sharpness, tonality and other desired features that gives you more flexibility compared to shooting in JPEG mode which offer limited options in comparison.
Monochrome filters – You can create more highlights and contrasts in your photos by using colored lens filters while shooting in monochrome mode. Depending on the colors within a composition, using colored lens filters can bring out certain effects based on colors within the composition, it’s a matter of experimenting and using the correct color filters for bringing out the desired effect.
Exposure control – Try and experiment with exposure compensation on your camera, this gives you more flexibility to work in conditions that are not favorable at the moment. You can easily recover over exposed or underexposed conditions by changing the settings on your exposure control. Stopping down for overexposed conditions or increasing stops for underexposed images will give you an opportunity to create workable imagery that normally would no work out.
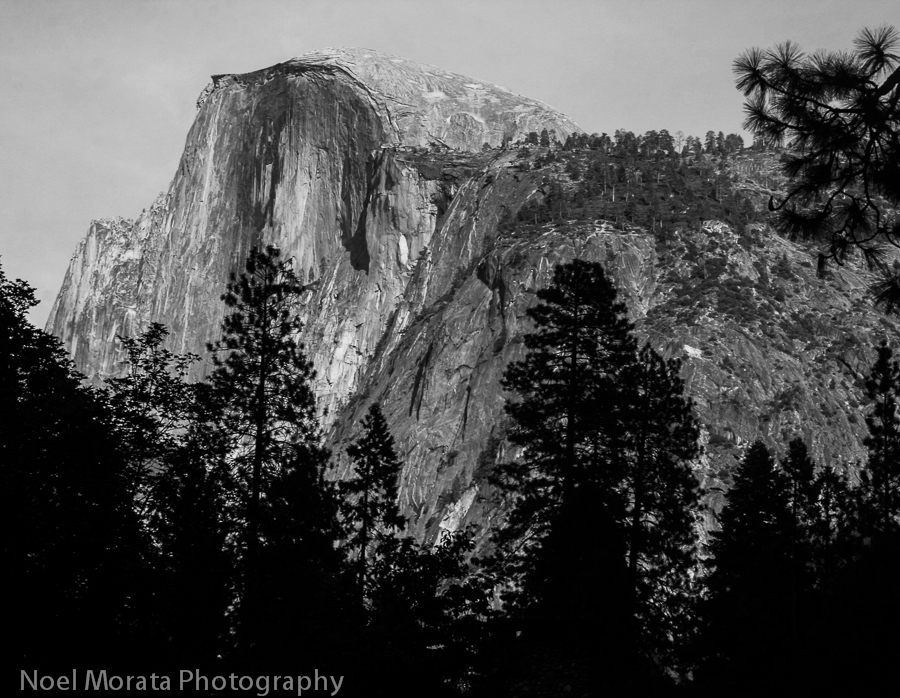
Contrast and lighting – look for imagery in a landscape that offers a full range of tonality with grays along with contrast and lighting that you can capture in your composition. When you can find areas in your composition that include pure white and areas that are completely dark, then you can build interesting contrast and highlights to your imagery in your post processing.
Flat light is also desirable – in flat light conditions you can also be able to hone in on the dark and light portions of an image and spot areas in your composition that take advantage of flat lighting conditions. Flat light creates even light that is perfect for detailed studies, macros and zooming into to your subject.
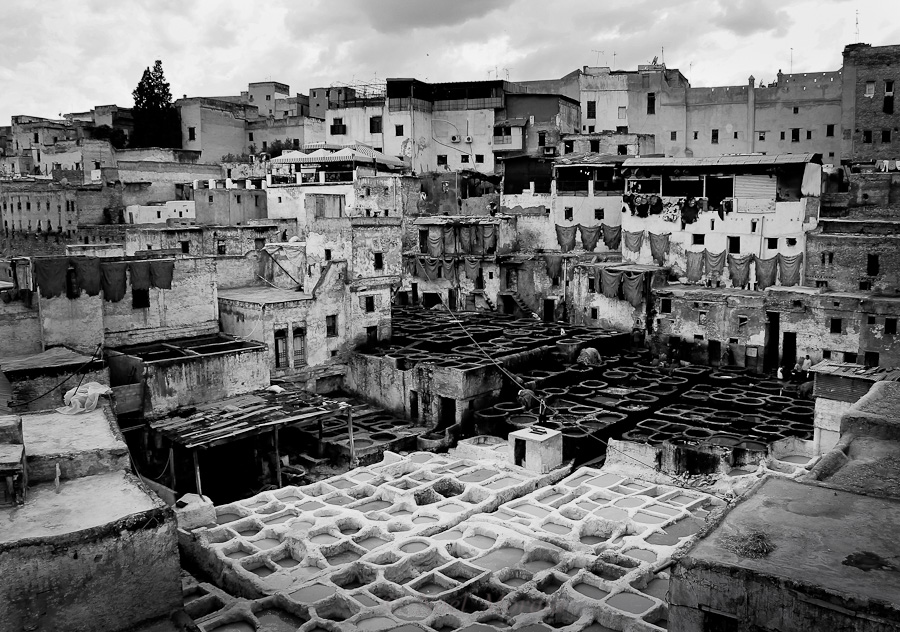
Focus on texture, leading lines and patterns – Without the use of color, it is important to train your eye to see textures, tones, shadows and shapes as the main emphasis of your composition to portray in your image. Being able to see these shapes and patterns in your photos and experimenting with your composition helps to create a more dynamic and pleasing image.
Check your histogram – constantly check your histogram when you frame an image to see if there is a full range of tonality available in the viewfinder to draw out a great black and white image
Use a polarizer in strong directional light – full daylight creates some difficult lighting conditions and using a polarizer can decrease harsh light, distracting and reflective surfaces to create better compositions and darken skies to make them more dramatic.
Use HDR – For exteme lighting conditions of light and dark, shooting in HDR mode or shooting a series of bracketed exposures is a good option for your black and white photography. While shooting in raw mode, HDR adds more dimension and exaggerates the range available in the image, and drawing more contrast and highlights into the image. This is ideal for extreme lights and darks within a photograph that you can tone down and bring back details and even tones. In some DSLR cameras, new point and shoot cameras, and cell phones, it’s a matter of just switching directly into HDR mode. In older DSLR models, bracketing your exposures with a range of under and overexposed shots and then post processing to merge the images will can bring better results from these extreme lighting conditions.
Tips in the Post Processing segment of creating black and white photos
Dodge and burning – Like typical dark techniques the new digital dodge and burn tool (or adjustment brush) available in software programs within Adobe product suite or related post processing programs will allow you to selectively create highlights or add more contrast to your photograph. Like a painting tool, you and easily adjust to the thickness of what you want to apply in your composition to create darker or lighter areas, shadows, sharpness and a variety of sliders to manipulate an image to a desired effect.
Curves and levels in Lightroom or Photoshop- the tone curve and HSL sections allow you to experiment with the various sliders and curves in to include: curves, exposure, contrast, shadows, hue, saturation and luminance. Play around with any combination in this section to give you the effect that works best for the image you are manipulating.
Advanced Adobe techniques – On Photoshop get more familiar using the channel mixer tool and experiment with the the presets available which may deliver your desired effect. (Make sure to use in conjunction with the black and white adjustment layer on newer versions of Photoshop). For Lightroom users, use the gray-scale mixer which will give you the ability to mix the channels like Photoshop’s black and white adjustment layer and experiment with the sliders to get a desired outcome.
Noise reduction – Adobe and 3rd party products have a noise reduction feature that allows for reducing overall noise from your images. Hopefully keeping your ISO settings to the lowest settings can prevent noise, but with noise removal programs available for difficult conditions like low light, you can make corrections to help lessen or eliminate grainy images.
Niks Silver Efex Pro – An application with easy slider tools that creates magic with your photographs. If you are serious about your black and white, this is the tool to add to your post processing
Try using any combinations of these tips, techniques and tools constantly in your process, you will eventually start seeing some progress in your work. Regularly practising, challenging yourself, and learning new techniques will hone in your black and white photo skills and will come naturally. The same goes for starting the basics of a photo-processing application, learning and applying learned skills and building up from that foundation. It’s an on-going learning process that drives an individual to constantly learn new skills in creating amazing black and white photographs.
If you enjoyed these camera tips, please check out some of my other photo tips below
Capturing street images – some photo tips and techniques
15 photography tips on your road trip
Photography tips for grey sky or rainy days
Flower and nature photography – tips on making your images pop
Photographing people – some tips and techniques
Photography tips for travel Photography
Travel photography – what to pack
Photo tip – backlighting your image
Food photography – making your images pop
Please pin this for later
Thank you for visiting Black and white photo tips for beginners, please do share it with any of the social media buttons on the post. Thank you.
If you like what you see, come and check out my other social media channels for more updates, including Instagram, Pinterest and Twitter

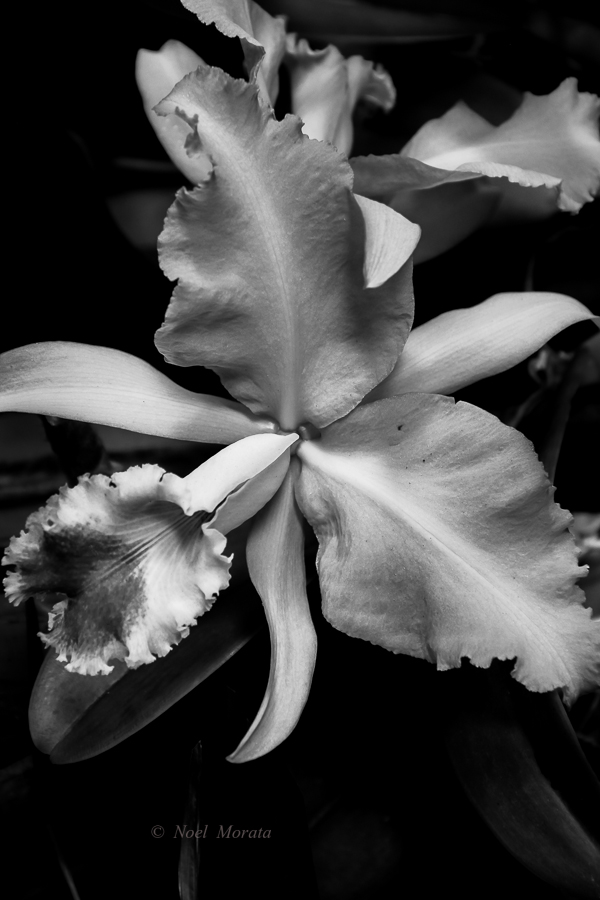
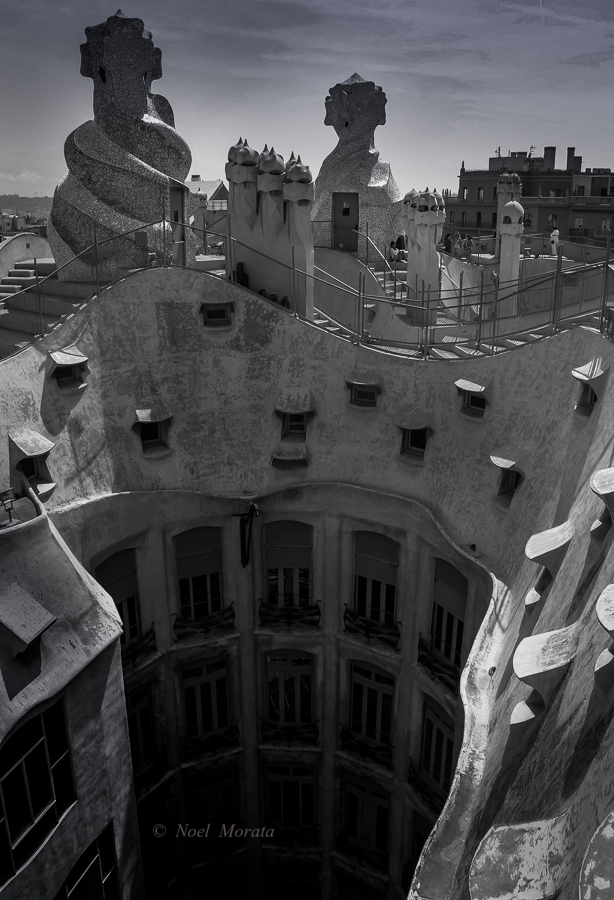
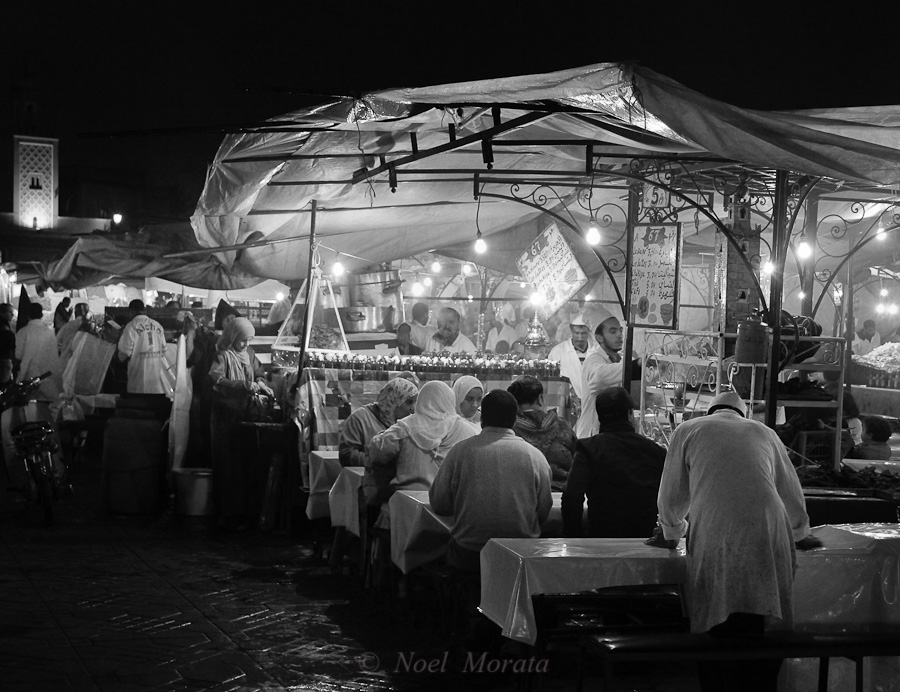
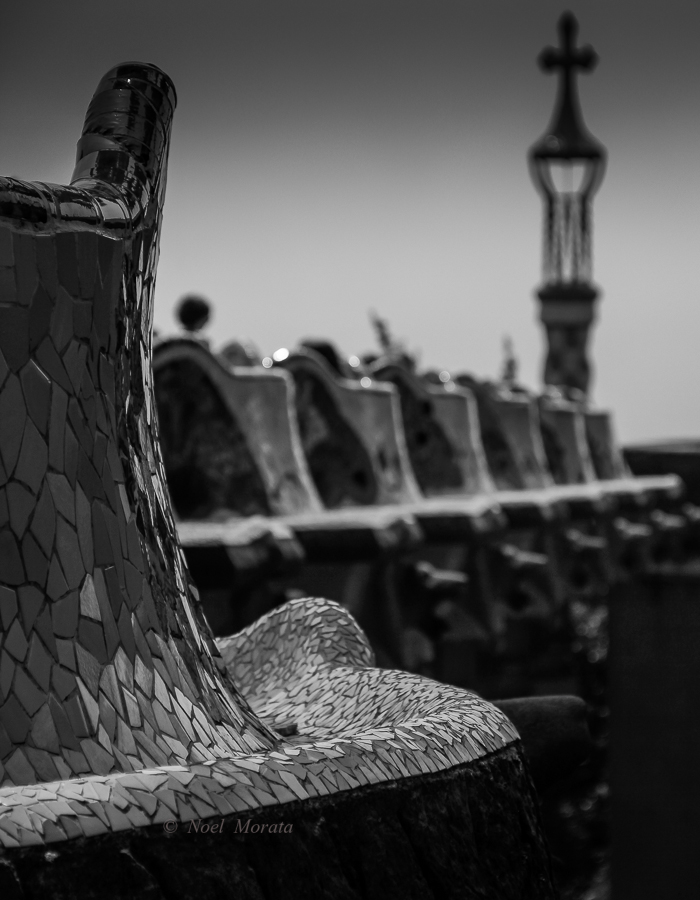


I am going to research this all day!! I hope you own an RSS feed I’m able to sign up
for. We have all recently been checking across the
internet for information about child photography.
I’m so glad I’ve now found your blog. Really excellent tips, and gorgeous photos to illustrate them!
Amazing tips and gorgeous photos! I normally prefer color, but these black and white photos are fabulous. Now if all black and white photography looked like yours, I think I would be sold!
Excellent suggestions, Noel, and a beautiful series of images!
Excellent tips here Noel! Black and white photography really brings a different dimension to a shot. I really think whenever you have a collection of color contrasted with black and white you have a perfect assortment that really brings out the best in both a landscape and portrait shot.
Thanks for the tips Noel. I’m really starting to get into B&W and these will be quite helpful.
I love black and white photography too…
Fantastic tips – always learning something from you – thank you!
Awesome tips! I have primarily shot in color and converted to B/W. I’m going to get out and work on straight B/W with your tips. I’m going to share this on my Women’s Photography Network FB page! Thanks for sharing!
There’s something really unique in B&W photography. I always find it to be a little more emotional and “true”… Great tips, Noel! Thanks!
Noel, I love color so much, I forget about the wonderful effect you can achieve with black and white photography {plus to makes me a bit nervous} Great roundup of tips. I’ve taken notes and promised myself to do some experimenting this summer. I’ll let you know how I make out. Thanks!
I love black and white photography! This post was written for me. Helpful tips (and great photos too).
Very useful tips, Noel. I have so much to learn! And I ove your photos in this post!
Thanks, Noel… great tips. I know many cameras allow you to shoot in B&W, negating the need to convert. Is there any benefit/merit in doing it this way, or might you as well always just shoot in colour, and then do the conversion if you want a &BW version?
There’s many pros and cons regarding this, I typically leave it to personal choice. I typically work in color and convert afterwards so I more control over the original colors that were intact to the image prior to conversion.
These are great tips, Noel! I’ve never shot photos directly for B+W and when I’ve tried to edit them from color to B+W (mostly using the Lightroom presets) they never look good. I’ll have to try changing to a B+W setting in-camera.
Now if the photo has a strong color (say, blue) would you use the monochrome blue filter accentuate it? Or remove it? I have never understood what these settings do.
Depending on the filter certain colors will react differently. Blue filters tend to make many of the warm colors very dark so there is little contrast created in the image. There are better explanations that I can expand on in a future post.
Oh my gosh I know NOTHING about black and white photography – or at least I didn’t. This post was so informative that I feel inspired to try it now. I have NEVER created a black and white photo because I LOVE color ( I’m sure anyone can tell). I’m very excited to try this with HDR which I love as well. Thanks so much for the great tips!
I learned photography in black and white. Film. And did my own printing. You really learn composition in black and white. You can’t count on the color compensating. Great article!
Hi Marilyn, Wow, black and white in film, good for you. It also takes me back to high school doing black and white and spending way to much time processing film in dark room. Thanks for sharing this and commenting.
Thanks Noel for these great tips. I love the richness of B&W photography, and find it a great way to “compensate” for a cloudy day when colors won’t pop.
I drool over all the ideas you pose. Now if I could only find the time to really learn how to use my Lightroom! I’ll keep reading, and eventually get there. Thanks for the inspiration.
Josie
Hi Josie, thanks for commenting, you can learn some fairly quick and basic Lightroom techniques on YouTube. The key is to key practising and using some of these techniques so it becomes second nature. Glad you enjoyed it.
Thanks Noel, I have gone to Youtube for many other tips, but never for Lightroom! Cool!
Josie